Showing posts with label hair. Show all posts
3.29.2012
3.15.2012
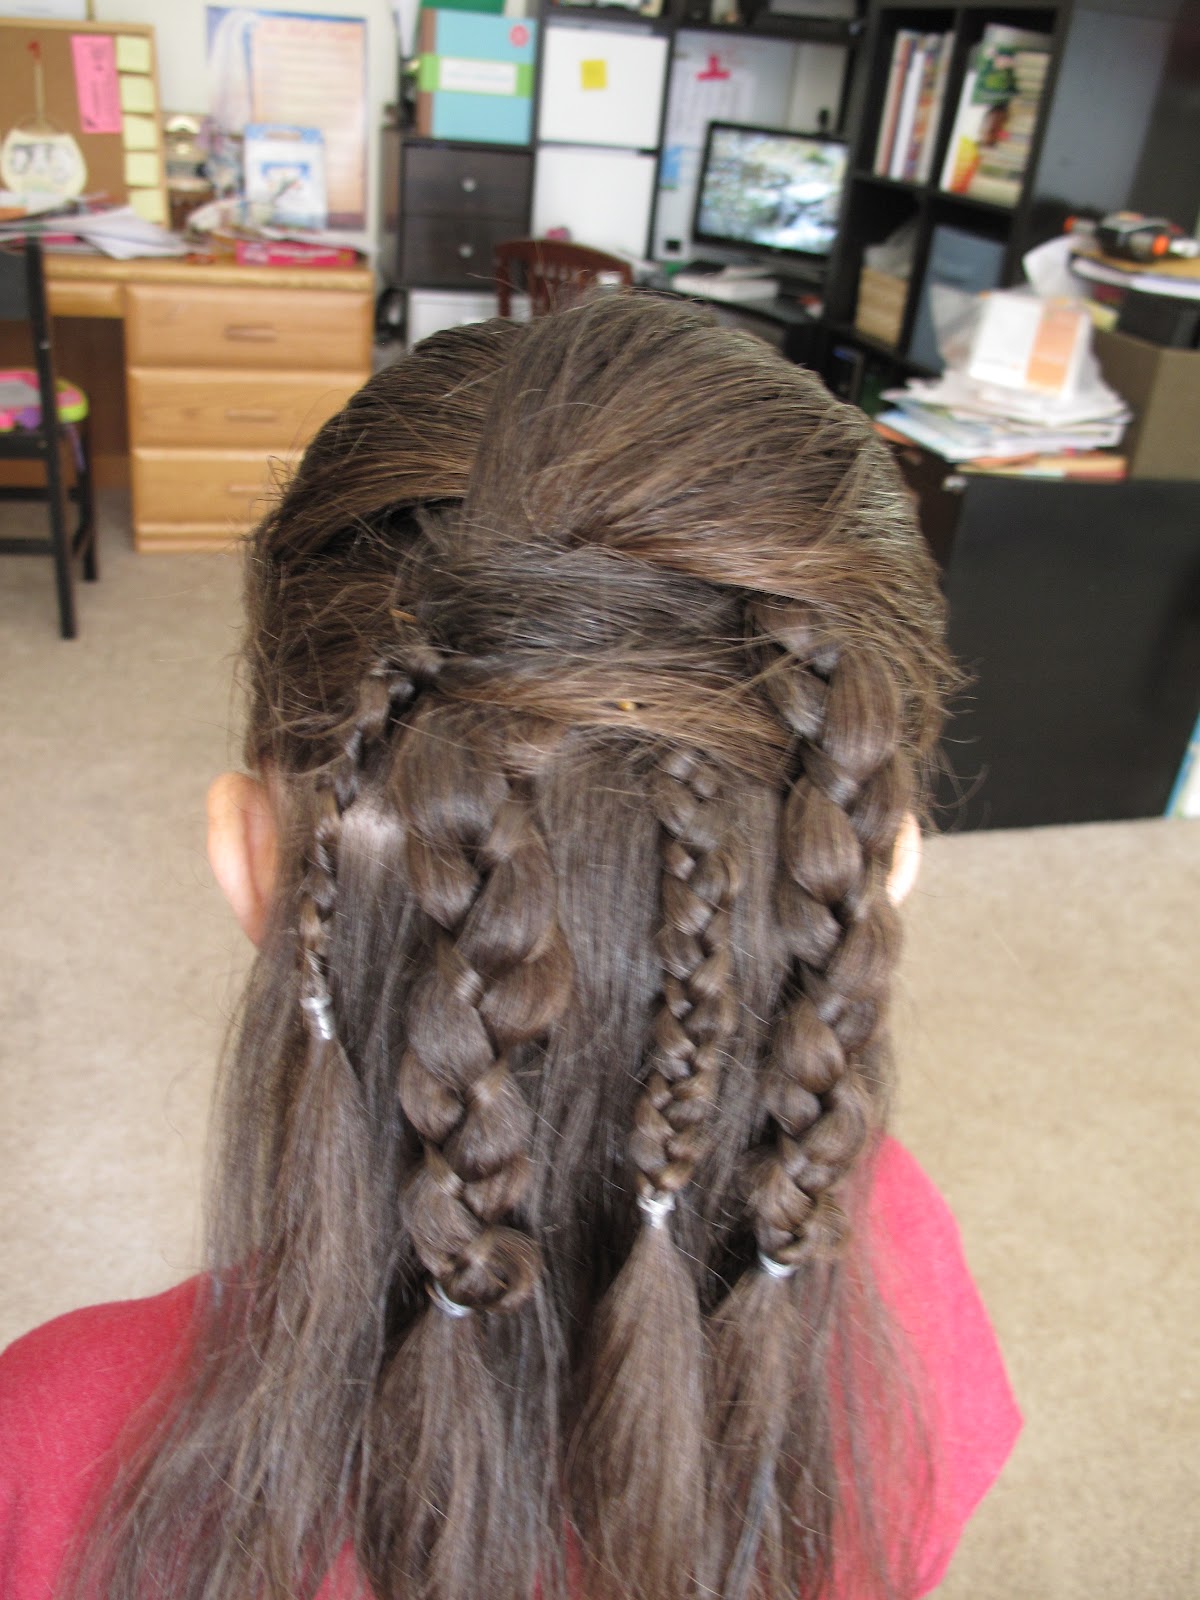
Ballerina's back and forth ponies.
This is a fun and super easy style. It could have been neater, but my bouncy ballerina couldn't sit still for some reason today. It still turned out cute though.
Also on the hair radar....
I had a bit of fun with my SIL's hair when she came over.... This is a simple way to add some visual interest to a side braid or fishtail braid. All you need is some colored yarn. Knot it in several places right close to the scalp like this:
When you're done, you have a fun, temporary colored look. Happy styling!
3.09.2012
Princess Leia bun braids.
We had fun with this one. She had to tilt sideways, lean upside-down, all kinds of fun stuff to achieve this. The end result is worth it though... if you ask me. Way fun indeed.
1.11.2012
Wedding hair and make-up
I've had two amazing opportunities lately to do hair and makeup for weddings. I gotta say... I LOVE doing it. There is something so special and personal about being the one that creates the look the groom sees on his bride. I consider it an enormous honor to be chosen to have such an intimate part in the wedding. A bride will always remember how she felt and how she looked on her most important of days. A few rules I follow when creating a bridal look.....
Keep it venue appropriate.
Is the wedding inside? Outside? What's the lighting like? What time of day is it? Is it daytime casual or evening elegant? These things are important in deciding on a bridal look. If the wedding is outside and midday, you don't want as much drama as the evening wedding in a grand chapel. Follow me?
Keep it true to the bride's personality.
Do you have a bride that typically has more dirt on her face than makeup? Is she outdoorsy and natural on a typical day? The last thing you want is for your groom to not recognize you. Wow him... yes. Shock him with how different you look? Not so much. Are you the self proclaimed spokeswoman for MAC cosmetics on a typical day? A bit more drama is more your style then. Bottom line... a bride should look like the best version of herself, not a totally new version.
Keep it timeless and classic.
How many people do you know who have wedding photos that are soooo easy to date because of the crazy and outlandish styles of that time? So many! Your photos should be beautiful and timeless so that when you look back on them 80 years from now, you aren't doubled over in laughter.
These are looks that I can't recommend for your wedding day.
Look to your dress for inspiration.
Is the dress simple? Frilly? Strapless? Keep these things in mind when creating your look. If you have a dress that looks like this:
you may not want to go with a super "natural" and "fresh" face. This look allows for a bit more drama. Keep balance in mind. If your dress is huge, you better have some volume in your hair girl! Can you guess how your face should look if your dress looks like this?
Hint: Probably not like this:
The Groom's opinion matters.
Does he prefer you to be glam? Or does he like a more natural look? Find out!
You want his face to look like this:
Not like this:
Got all that?
I also think it's important for the stylist to be on hand for the entire wedding and reception. The bride shouldn't be left to do her own touch-ups and if the curls fall or adjustments need to be made, the stylist should be there to deal with things like that. It's a whole day commitment, not a morning appointment.
So in conclusion, I'm sooo grateful to have been given the opportunity to work a bit in this arena. I was blessed to be a part of these weddings.
I love what I do.
See?
12.20.2011
Bantu knots
This hairstyle is super fun and easy. Ballerina was loving the curly look the next day. I actually thought the knots themselves were cute..... LOL. She wanted me to take them out before church though. I knotted her hair while it was dry. If you do this wet, it may not dry in time. I find that hair that is wound pretty think does not dry in the innermost parts in just one night. The method for the knots is really simple. Grab a section of hair and start twisting it till it starts to twist on itself. Then wrap them up and secure with an elastic. Easy peasy. I did them in an alternating pattern. Next time, I'll not part her hair in the center of her head, it gave an interesting look after that needed to be fixed a bit. Ballerina's hair went frizzy pretty quick since it was a rainy day. Also, if you work a bit of styling gel or mouse into the dry hair before knotting it, it will hold better.
Now, this may be the overly anal cosmetologist in me, but as you can see, I rolled the knots in the hairline smaller and the ones in the crown area bigger. This is because naturally curly hair will have tighter curls in the hairline and I wanted to mimic natural growth patterns. What can I say..... I like things to be authentic... LOL (>_<)*\
That is not necessary to achieve an adorable look.
Good Morning!!!!!
Curly gal!
10.14.2011
My take on the Waterfall Braid.
I wanted little C's hair to be out of her face. I love the look of the waterfall braid these days, but I wanted her hair all up. I decided to modify it and use the fall through pieces to pull into a second braid. I think it turned out pretty cute. She agrees.
9.16.2011
Fun dance hair.
So, by now we're kinda bored with the usual dance bun. We decided to try and doll it up a bit. What better way to doll up some hair than with cute yarn?
Here's the step by step:
You will need
Step 1
Separate the top portion at the ear level and make four small ponytails. Dont' tighten them all the way just yet.
Step 2
Split the top portion of the ponytail, making a "tunnel" for the yarn.
Step 3
Slip the yarn through the loops and tighten the ponytails now.
Step 4
Braid each piece using the 2 yarn pieces and the 1 ponytail to make your three parts. You can do your own versions here if you prefer, a twist braid, a 5 strand... whatever you fancy.
Step 5
Release the top portion and bring all hair into a ponytail.
Step 6
Attach the bun mold. For more info on how to put in the bun mold, go here.
Step 7
Spread the hair around the mold leaving out the braided/yarn pieces. If you did more than four, you could mix them all in. Since I only did the four, I chose to place them more carefully.
Step 8
Pin them where you want 'em. I then twisted the extra hair and wound it around the bun for a clean look. Tada. All done.
Variations:
Use ribbon instead of yarn.
Make more braids
Do twist braids or 5 strand braids
Use clip in color hair extensions
Use your imagination and let me know if you try this one.
Here's the step by step:
You will need
Step 1
Separate the top portion at the ear level and make four small ponytails. Dont' tighten them all the way just yet.
Step 2
Split the top portion of the ponytail, making a "tunnel" for the yarn.
Step 3
Slip the yarn through the loops and tighten the ponytails now.
Step 4
Braid each piece using the 2 yarn pieces and the 1 ponytail to make your three parts. You can do your own versions here if you prefer, a twist braid, a 5 strand... whatever you fancy.
Step 5
Release the top portion and bring all hair into a ponytail.
Step 6
Attach the bun mold. For more info on how to put in the bun mold, go here.
Step 7
Spread the hair around the mold leaving out the braided/yarn pieces. If you did more than four, you could mix them all in. Since I only did the four, I chose to place them more carefully.
Step 8
Pin them where you want 'em. I then twisted the extra hair and wound it around the bun for a clean look. Tada. All done.
Variations:
Use ribbon instead of yarn.
Make more braids
Do twist braids or 5 strand braids
Use clip in color hair extensions
Use your imagination and let me know if you try this one.
8.06.2011
Bridal Consult
Had the consult with my sister for her wedding day look. She looked beautiful at the end... but ya'll will have to wait to see till after her big day. It's a secret......
5.13.2011
Ballet hair
I found the neatest tool for making my ballerina's hair perfect. It was about 3 dollars at sally's beauty supply. It looks like this:
I got the light brown one to match her hair.
Subscribe to:
Posts (Atom)